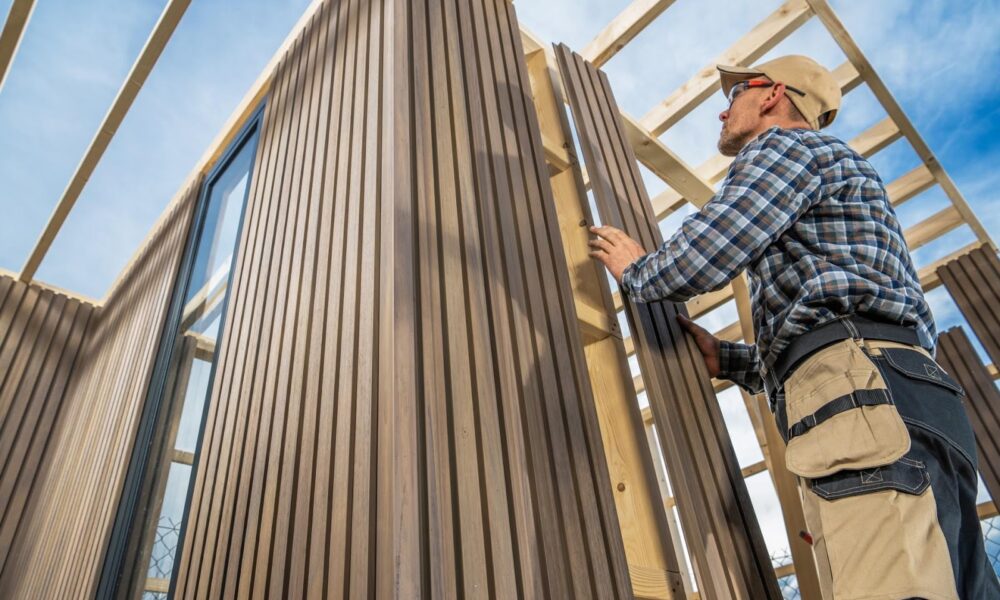
How Are Prefab Wall Panels Installed?

Prefab wall panels short for prefabricated wall panels are reshaping modern construction by providing faster, more efficient, and highly accurate alternatives to traditional on-site framing methods. These panels are pre-designed, engineered, and assembled in a factory-controlled environment, then delivered to the job site ready for installation. Leading manufacturers like https://www.redbuilt.com/products/wall-panels/ offer advanced wall panel systems that combine structural strength with design flexibility, making them ideal for both commercial and residential building applications. But how exactly are these panels installed on-site? Let’s explore the full process step by step.
- Pre-Installation Planning and Design Coordination
The foundation of a successful prefab wall panel installation lies in detailed planning and early-stage coordination between the design team, engineers, contractors, and panel manufacturer. During this phase:
- Architects finalize building layouts and panel specifications
- Engineers review structural requirements
- Manufacturers like RedBuilt fabricate panels according to precise drawings and material selections
- On-site teams prepare the foundation or floor system to exact tolerances
This pre-construction coordination ensures that when the panels arrive, installation can proceed quickly and smoothly, reducing errors and delays.
- Delivery and Site Staging
Once the panels are manufactured, they are shipped to the construction site in the correct sequence for installation. These panels are often delivered:
- With weather protection wrapping to shield materials from the elements
- Pre-labelled and sorted by placement order
- With hardware and fasteners bundled together for convenience
Upon arrival, the site crew stages the panels close to their respective installation zones to minimize handling and maximize efficiency.
- Lifting and Placement of Wall Panels
Using cranes, forklifts, or boom trucks depending on the panel size and site access, the wall panels are carefully lifted into position. During this step:
- Each panel is aligned with layout marks on the foundation or floor system
- Panels are temporarily braced to hold them plumb and square
- Alignment is verified using levels, plumb bobs, or laser tools
Accuracy at this stage is vital to ensure tight fits between panels and a square building envelope, which affects everything from insulation performance to finish quality.
- Fastening and Structural Integration
Once in place, each panel is permanently secured to the base and adjoining panels using engineered fastening systems. This may include:
- Nails, screws, bolts, or structural connectors
- Metal straps, hold-downs, or brackets for lateral and vertical loads
- Sealants or gaskets between panels to ensure airtightness and water resistance
RedBuilt’s engineered wall panels often feature built-in connection points and advanced design features that speed up this phase while ensuring structural integrity.
- Integration with Mechanical, Electrical, and Plumbing Systems
Because prefab wall panels are manufactured with precision, they often include:
- Pre-cut electrical boxes or conduit pathways
- Window and door openings with headers installed
- Chases or access points for plumbing or HVAC routing
This level of pre-planning allows electricians, plumbers, and HVAC technicians to complete their rough-ins more quickly, reducing delays and minimizing on-site modifications.
- Adding Sheathing, Weather Barriers, and Exterior Finishes (If required)
Depending on the level of finish applied during factory assembly, some panels arrive:
- With sheathing and house wrap already attached
- Pre-insulated or fitted with rigid foam or mineral wool
- Clad with exterior finishes such as fiber cement, metal siding, or EIFS
If not factory-installed, the site crew installs sheathing, vapor barriers, insulation, and cladding systems as part of the final enclosure process.
- Final Adjustments and Inspection
After all panels are in place:
- Bracing is removed once permanent connections are complete
- Openings and seams are sealed or flashed as necessary
- Building inspectors verify that installation meets local codes and engineering specs
- Any minor adjustments or repairs are completed
This step confirms the structural integrity and weathertightness of the installed system, preparing the building for roofing, window installation, and interior finish work.
Benefits of Using RedBuilt Prefab Wall Panels
Partnering with a manufacturer like RedBuilt provides several key advantages:
- Speed: Pre-built panels reduce framing time dramatically
- Precision: Factory-controlled quality reduces mistakes and ensures a consistent finish
- Efficiency: Fewer workers are needed for installation, lowering labour costs
- Performance: Engineered solutions result in stronger, more energy-efficient walls
- Customization: RedBuilt’s wall systems can be tailored to meet seismic, wind, fire, and energy codes
Installing prefab wall panels is a highly coordinated and efficient process that brings modern building projects to life faster and more precisely than traditional construction methods. From pre-planning to final inspection, every step is designed to optimize time, reduce waste, and ensure quality.
With innovative systems like those from RedBuilt, prefab wall panel installation is not just a construction trend, it’s a smarter, forward-thinking solution for builders who demand speed, reliability, and performance.


